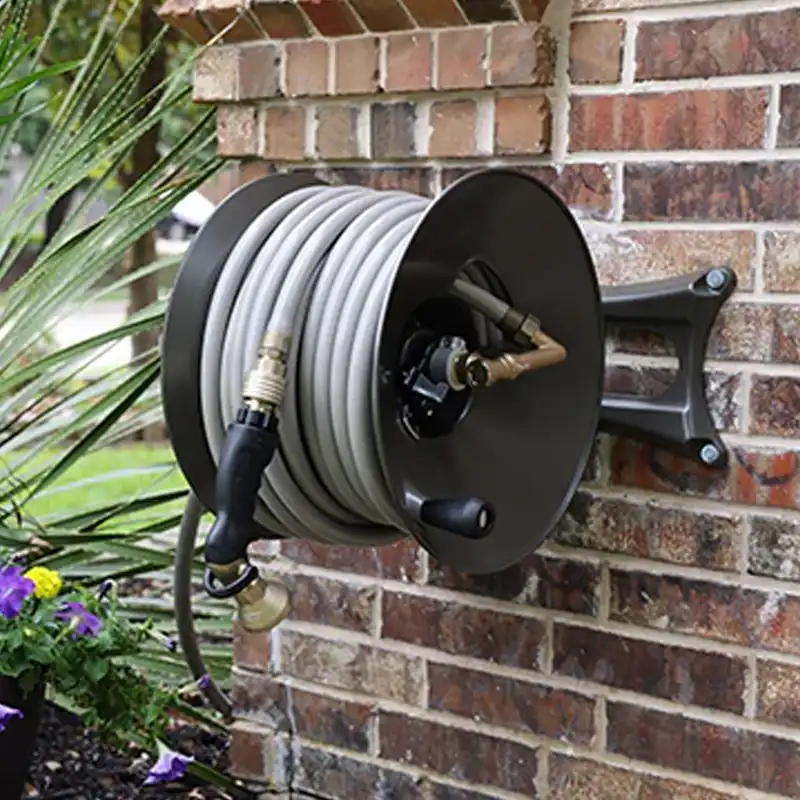
Welcome to our comprehensive guide on mounting a hose reel to concrete. Whether you’re a seasoned DIY enthusiast or a beginner looking to spruce up your outdoor space, this guide will walk you through the process with ease. From gathering the necessary tools to ensuring a secure installation, we’ve got you covered.
What Is Hose Reel?
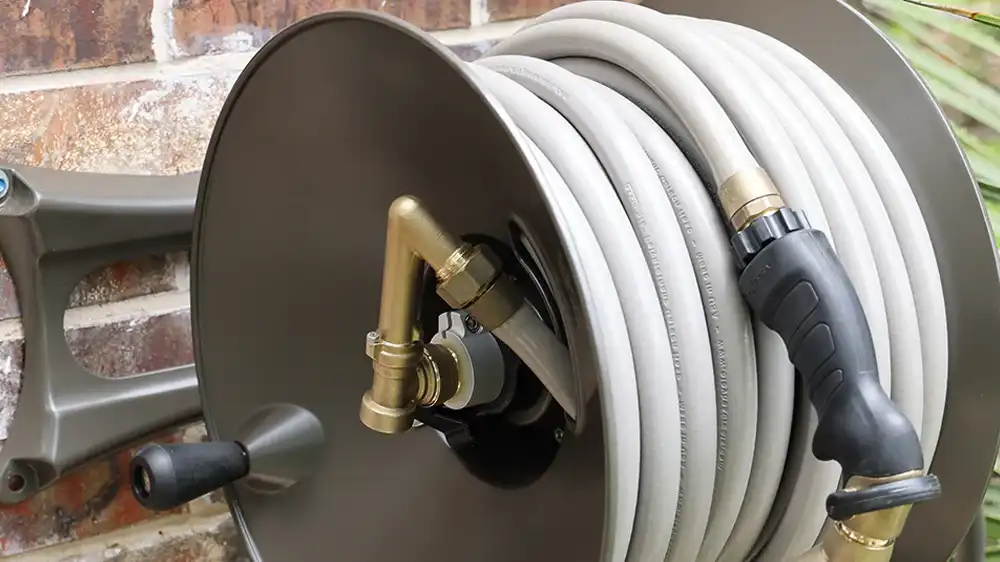
A hose reel is a cylindrical device used for storing and organizing hoses, typically garden hoses. It consists of a spool around which the hose is wound, along with a handle or crank for winding and unwinding the hose. Hose reels come in various sizes and designs, ranging from small portable models to large wall-mounted or freestanding units.
They are designed to keep hoses neatly coiled and easily accessible, reducing tangles and prolonging the life of the hose by preventing kinks and damage. Hose reels are commonly used in residential gardens, commercial landscaping, agriculture, and industrial settings where hoses are frequently used for watering, irrigation, cleaning, and other tasks.
Preparing for Installation Hose Reel to Concrete
Gathering Tools and Materials
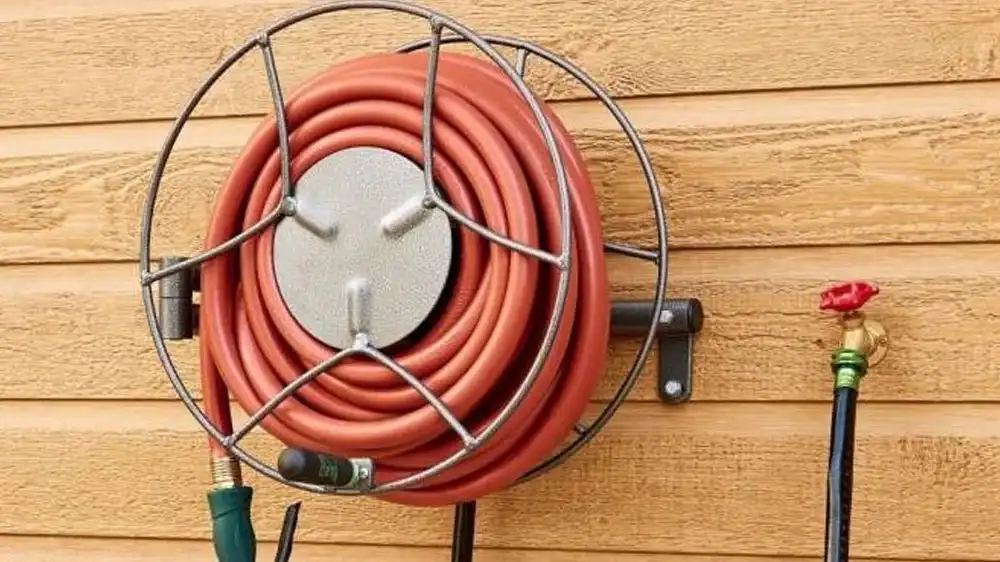
Before diving into the installation process, it’s essential to gather all the necessary tools and materials. Here’s what you’ll need:
- Drill
- Concrete anchor bolts
- Hose reel kit
- Measuring tape
- Level
- Pencil
- Safety goggles
Choosing the Right Location
Selecting the optimal location for your hose reel is crucial for both functionality and aesthetics. Consider factors such as accessibility, proximity to water source, and clearance space.
Measuring and Marking
Using a measuring tape and pencil, carefully mark the positions where the hose reel will be mounted. Ensure proper alignment and spacing to avoid any future issues.
Drilling Holes in Concrete
Drilling holes in concrete is a crucial step when mounting a hose reel or any other fixture to a concrete surface.
Here’s a more detailed explanation of the process:
Selecting the Drill Bit:
Choosing the right drill bit is essential for drilling into concrete effectively. Masonry or carbide-tipped drill bits are commonly used for this task because they are specifically designed to penetrate tough materials like concrete.
Drilling Pilot Holes:
Before drilling the final holes for the anchor bolts, it’s recommended to start with pilot holes. Pilot holes serve as guides for the larger drill bit and help prevent the concrete from cracking or chipping. Use a hammer drill for drilling pilot holes, as it provides the necessary power and impact to penetrate the concrete surface efficiently.
Inserting Anchor Bolts:
Once the pilot holes are drilled, it’s time to insert the anchor bolts. Anchor bolts are specially designed fasteners that provide a secure connection between the mounted fixture and the concrete surface. Make sure the anchor bolts are aligned properly with the pilot holes and insert them carefully into the concrete. Use a hammer to tap the anchor bolts gently until they are fully seated in the holes.
Ensuring Depth and Diameter:
When drilling the pilot holes and inserting the anchor bolts, it’s crucial to ensure the correct depth and diameter. The depth of the holes should be sufficient to accommodate the entire length of the anchor bolts, ensuring a secure attachment. Additionally, the diameter of the holes should match the size of the anchor bolts to ensure a tight fit.
Using Proper Technique:
To drill holes in concrete effectively, it’s important to use the proper drilling technique. Hold the drill steady and apply firm, even pressure while drilling to prevent the bit from wandering or slipping. Take breaks periodically to clear away dust and debris from the hole, as this can interfere with the drilling process.
By following these steps and techniques, you can drill holes in concrete accurately and securely, ensuring a solid foundation for mounting your hose reel or other fixtures. Always prioritize safety by wearing protective gear such as safety goggles and gloves, and consult the manufacturer’s instructions for specific guidelines on drilling into concrete.
Mounting the Hose Reel
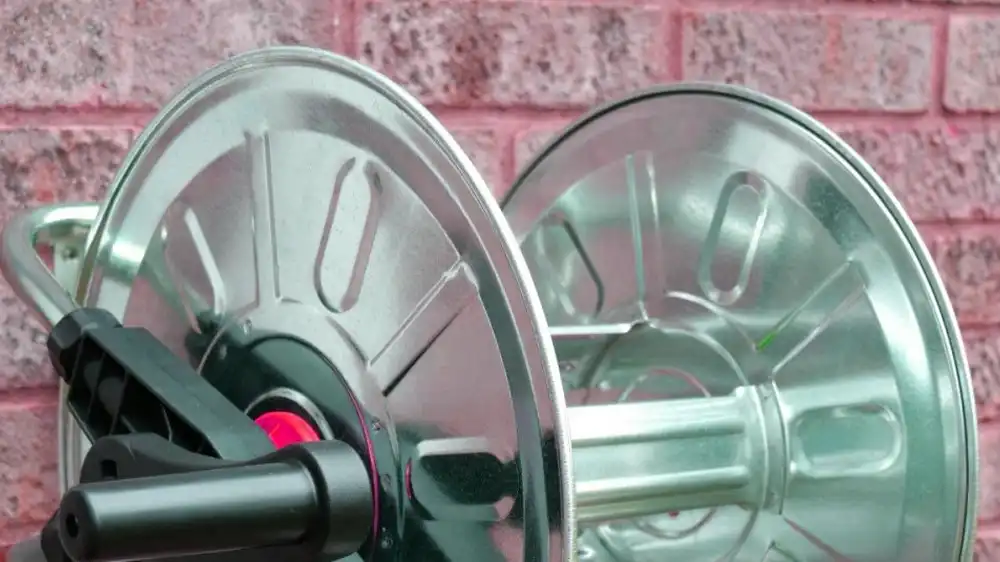
Attaching the Hose Reel Bracket
Securely fasten the hose reel bracket to the concrete surface using the anchor bolts. Ensure that the bracket is level and tightly secured to prevent any wobbling or instability.
Assembling the Hose Reel
Follow the manufacturer’s instructions to assemble the hose reel components. Make sure all connections are tight and secure to prevent leaks.
Mounting the Hose Reel
Once assembled, mount the hose reel onto the bracket. Double-check the alignment and stability before tightening any screws or bolts.
Securing the Hose
Securing the hose is an important aspect of mounting a hose reel to concrete, ensuring that the hose remains firmly in place and functions properly.
Here’s a detailed explanation of the process:
Connecting the Hose:
Once the hose reel is mounted securely to the concrete surface, the next step is to connect the garden hose to the reel. Ensure that the hose is clean and free from any kinks or twists before attaching it to the reel. Depending on the type of hose reel, there may be specific connection points or fittings designed to secure the hose in place.
Tightening the Connection:
After inserting the hose into the reel, it’s essential to tighten the connection to prevent any leaks or water wastage. Use adjustable wrenches or hose clamp pliers to secure the fittings firmly in place, ensuring a tight seal. Avoid over-tightening, as this can damage the hose or fittings.
Checking for Leaks:
Once the hose is securely connected to the reel, it’s crucial to test for any leaks or drips. Turn on the water supply and inspect the hose connections carefully for any signs of water leakage. Pay close attention to the fittings and joints, as these are common areas where leaks can occur. If any leaks are detected, tighten the connections further or replace any damaged components as necessary.
Adjusting Hose Length:
Depending on the length of the hose and the distance to the water source, you may need to adjust the length of the hose accordingly. Most hose reels feature a mechanism for winding or unwinding the hose, allowing you to extend or retract the hose as needed. Ensure that the hose length is sufficient to reach the desired area without stretching or straining the hose.
Securing the Hose End:
Once the hose is connected and adjusted to the appropriate length, secure the free end of the hose to prevent it from dragging on the ground or getting tangled. Use hose guides or hooks to keep the hose neatly coiled and organized when not in use. This not only helps to prolong the life of the hose but also reduces tripping hazards and improves the overall appearance of your outdoor space.
By following these steps, you can securely mount and connect the hose to the reel, ensuring efficient water distribution and minimal maintenance. Regularly inspect the hose and connections for any signs of wear or damage, and address any issues promptly to prevent costly repairs or replacements.
Maintenance Tips
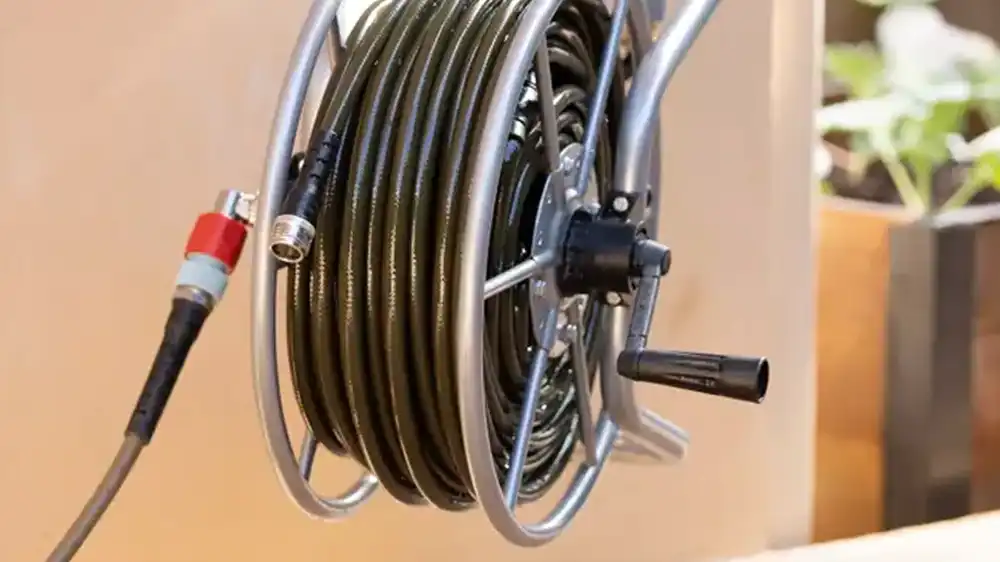
Maintaining your hose reel and hose is essential to ensure longevity and optimal performance. Here are some maintenance tips to keep your equipment in top condition:
Regular Inspections:
Perform routine inspections of the hose reel and hose to check for any signs of wear, damage, or leaks. Look for cracks, kinks, or bulges in the hose, and inspect the reel for rust, corrosion, or loose components. Address any issues promptly to prevent further damage and ensure reliable operation.
Cleaning and Lubrication:
Clean the hose reel and hose regularly to remove dirt, debris, and grime buildup. Use a mild detergent and water solution to clean the exterior surfaces, and rinse thoroughly with clean water. Avoid using harsh chemicals or abrasive cleaners, as these can damage the finish or components of the reel. Additionally, apply lubricant to moving parts such as the reel mechanism and hose connections to prevent rust and ensure smooth operation.
Seasonal Maintenance:
Before the onset of winter, it’s important to prepare your hose reel and hose for cold weather conditions. Drain the hose completely to remove any remaining water and prevent freezing, which can cause damage to the hose material and fittings. Disconnect the hose from the water source and store it in a dry, sheltered location to protect it from the elements. Similarly, if the hose reel is exposed to the outdoors, consider covering it or storing it indoors during the winter months to prevent corrosion and prolong its lifespan.
Replacing Worn-Out Components:
Over time, hoses and hose reels may experience wear and tear due to regular use and exposure to the elements. Inspect the hose and reel periodically for any signs of deterioration, such as cracks, leaks, or weakened materials. Replace any worn-out components, such as hoses, fittings, or O-rings, to maintain optimal performance and prevent potential water damage or accidents.
Storage and Protection:
When not in use, store your hose reel and hose properly to protect them from damage and prolong their lifespan. Keep the hose neatly coiled and stored in a dry, sheltered location away from direct sunlight and extreme temperatures. Consider using a hose reel cover or storage rack to keep the equipment organized and protected from dust, debris, and pests.
By following these maintenance tips, you can ensure that your hose reel and hose remain in excellent condition, providing reliable water distribution and convenience for years to come. Regular maintenance not only extends the lifespan of your equipment but also reduces the risk of costly repairs or replacements in the future.
FAQs
Can I mount a hose reel to any type of concrete surface?
Yes, hose reels can be mounted to various concrete surfaces, including walls, posts, and columns. Just ensure that the surface is sturdy enough to support the weight of the reel and withstand water exposure.
Do I need any special tools for mounting a hose reel to concrete?
While basic tools like a drill and measuring tape are required, you may also need specific concrete anchor bolts for secure installation.
How do I know if the hose reel is securely mounted?
Use a level to ensure that the reel bracket is installed horizontally and securely fastened to the concrete surface. Additionally, perform a stability test by gently pulling on the reel to check for any movement.
Can I paint the hose reel bracket to match my outdoor décor?
Yes, most hose reel brackets can be painted to blend seamlessly with your outdoor surroundings. Use outdoor-grade paint for durability and weather resistance.
What should I do if the concrete surface is uneven or sloped?
If the concrete surface is uneven or sloped, use shims or adjustable mounting hardware to ensure a level installation. Alternatively, you can build a sturdy base platform to provide a flat mounting surface.
Is it necessary to anchor the hose reel to concrete, or are there other mounting options?
While anchoring the hose reel to concrete provides the most secure installation, there are alternative mounting options available, such as mounting to wooden posts or using freestanding hose reel carts.
Conclusion
Mounting a hose reel to concrete may seem like a daunting task, but with the right tools and techniques, it can be accomplished smoothly. Follow the step-by-step instructions outlined in this guide to ensure a secure and hassle-free installation. Remember to prioritize safety at all times and enjoy the convenience of having a neatly organized outdoor space.

